CONSTRUCTION PAGE -- SEA BRIGHT 14

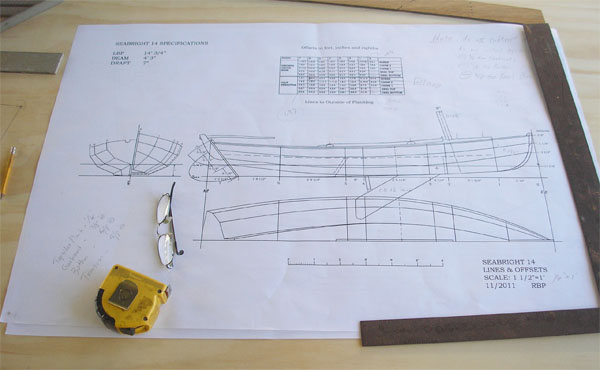
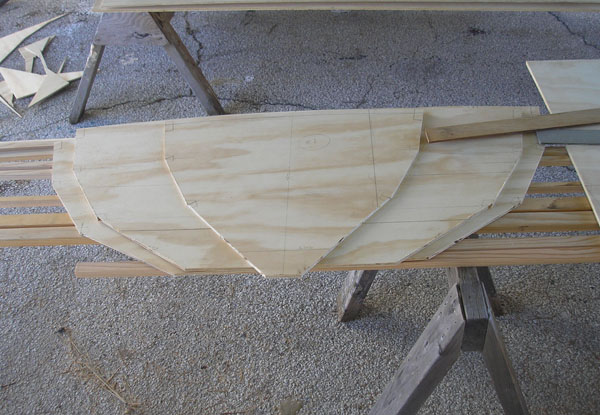
Use the Table of Offsets and the Lines Drawing to loft bulkheads onto Plywood The bulkheads cut out, after subtracting scantlings thicknesses--from 3/8" Arauco pine plywood from Chile
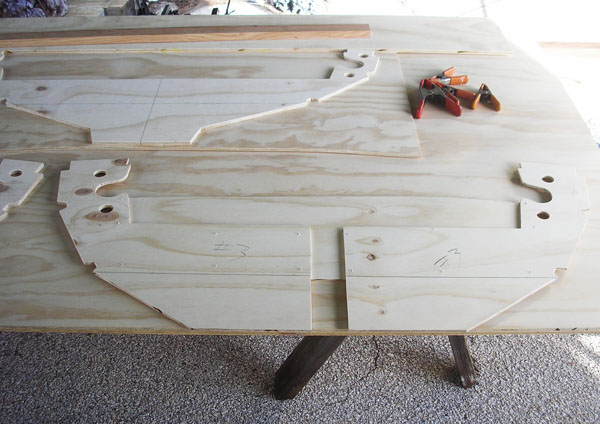

Bulkheads divided by the centerboard trunk are joined by a piece of scrap plywood Drilling holes in bulkheads for stowage of oars, boathooks, etc.

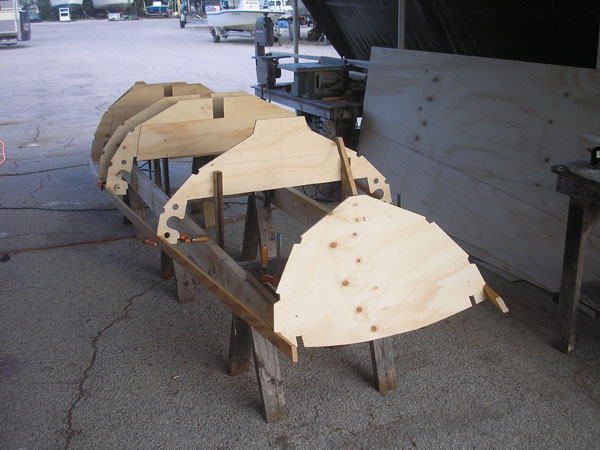
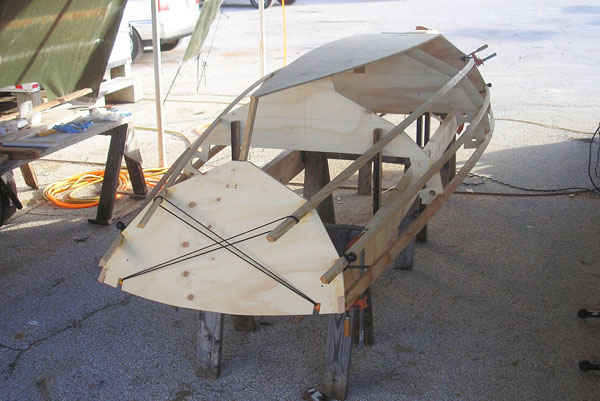
The strongback, made from sawhorses and 2x6s The bulkheads set up on stanchions erected from the strongback--the inner transom is supported beyond the strongback
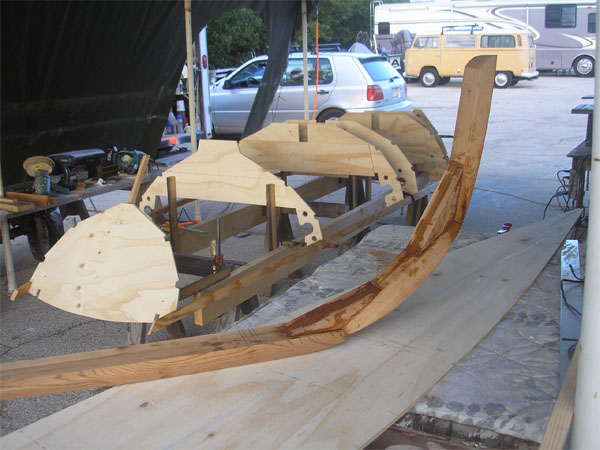
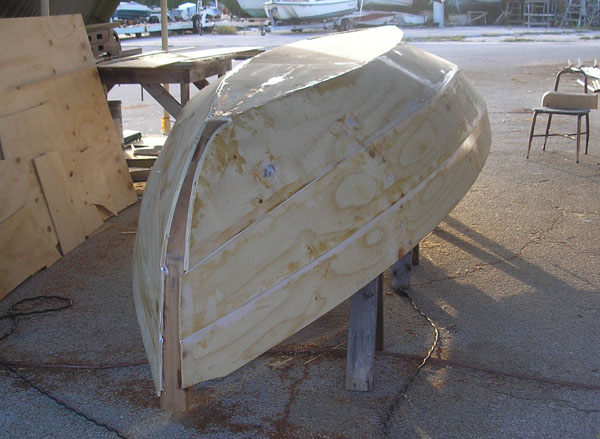
The apron/forefoot/knee assembly ready to add to the frame The inner transom braced from the strongback with sheer clamps and keel bottom attached

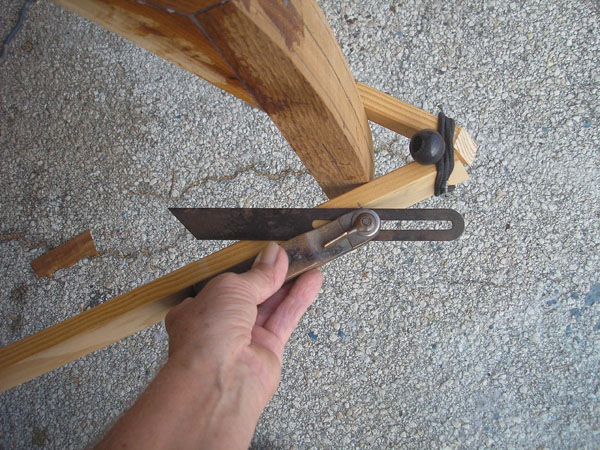
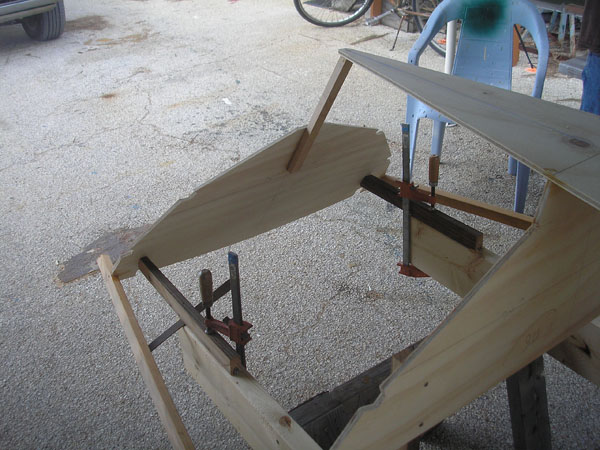
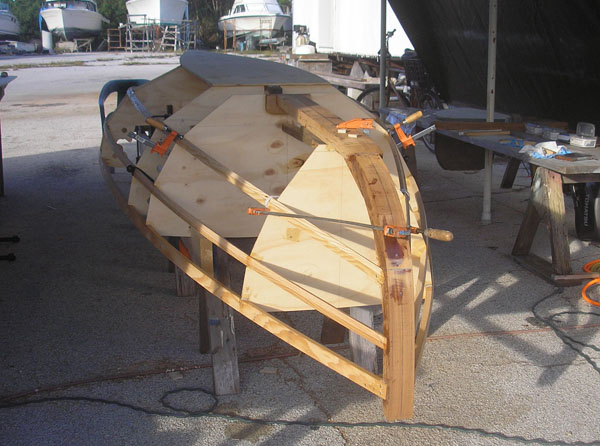
The apron/forefoot assembly mounted on the frame Using a bevel square to determine the cut angle for the sheer clamp to apron joint
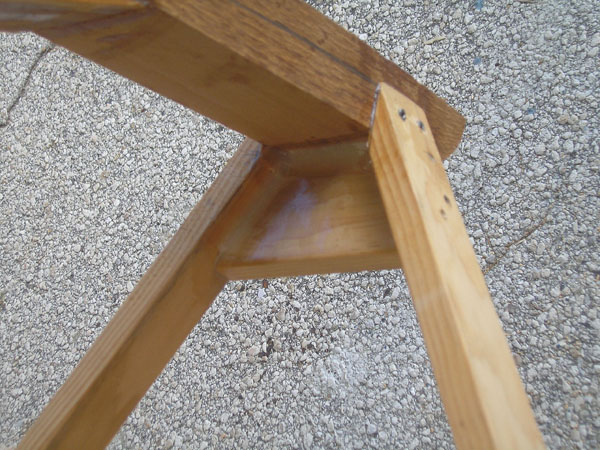
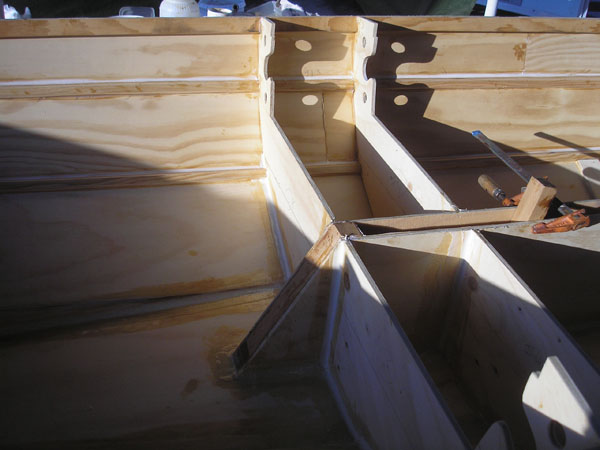
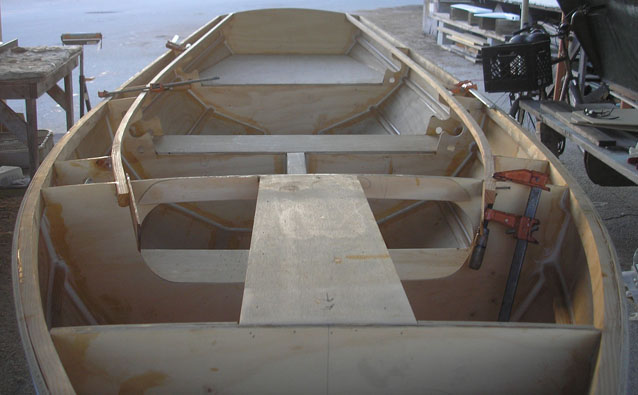
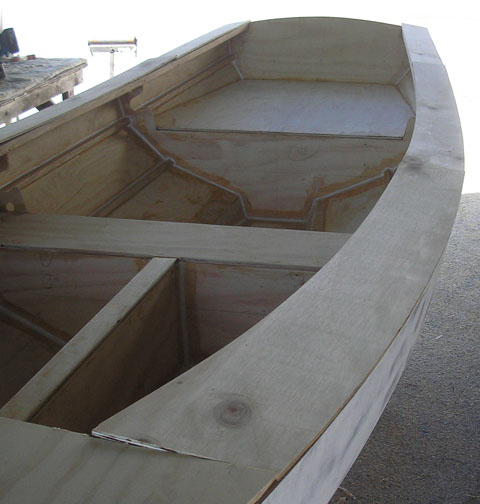
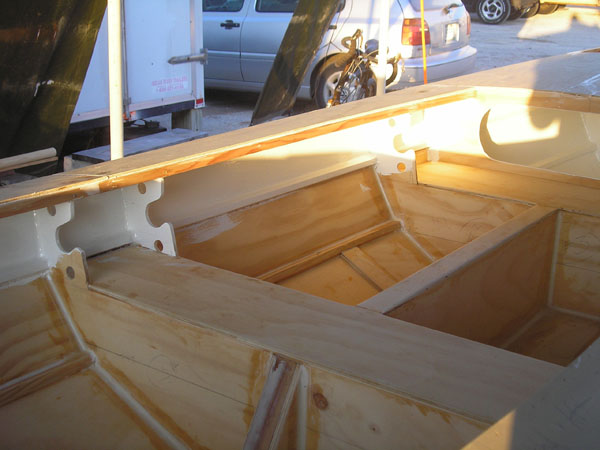
Sheer clamps joined to the apron with breast hook The hull in frame with sheer clamps, chine battens and inner keel-plank bottom installed

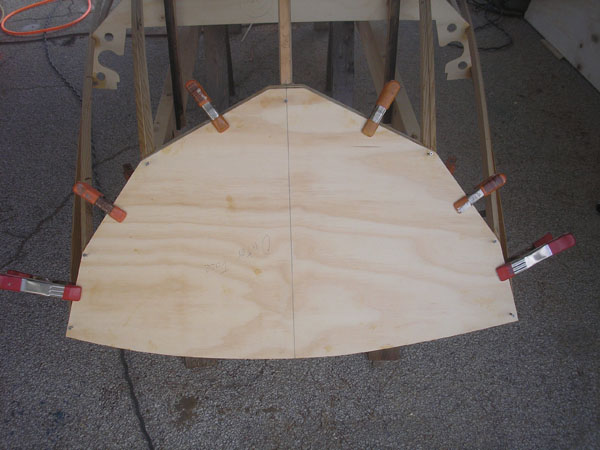
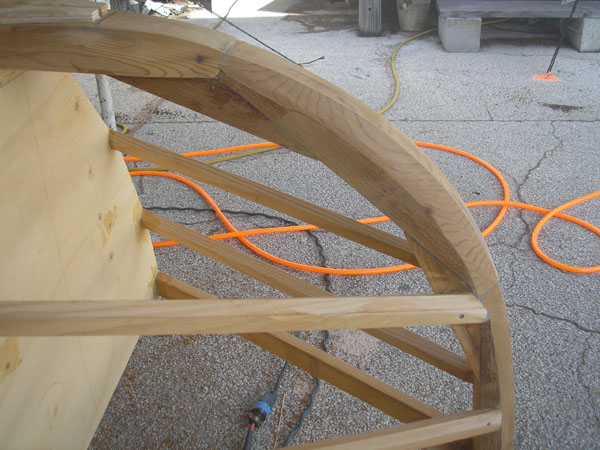
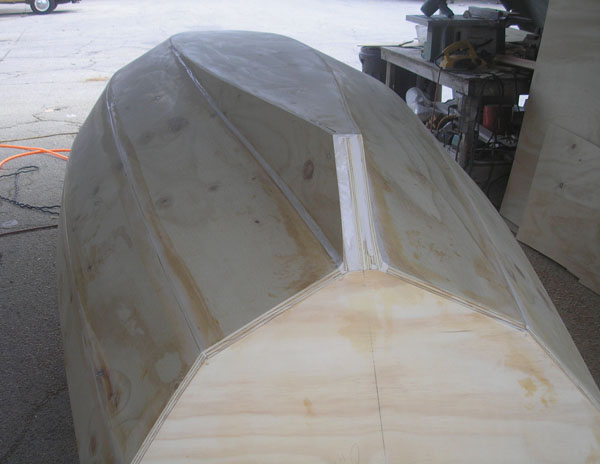
The frame with all longitudinals finished except the forward half of the inner keel-plank bottom (view from forward, left; view from aft, right)
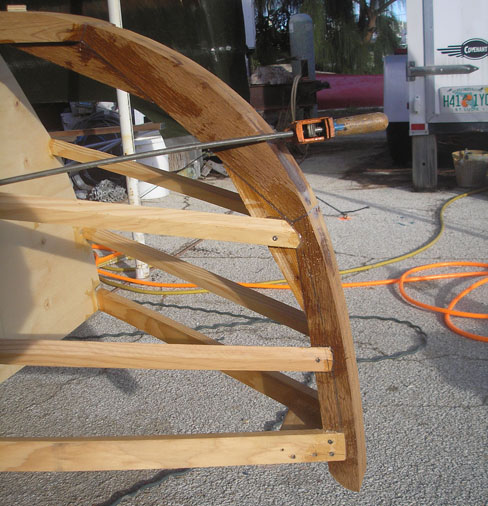
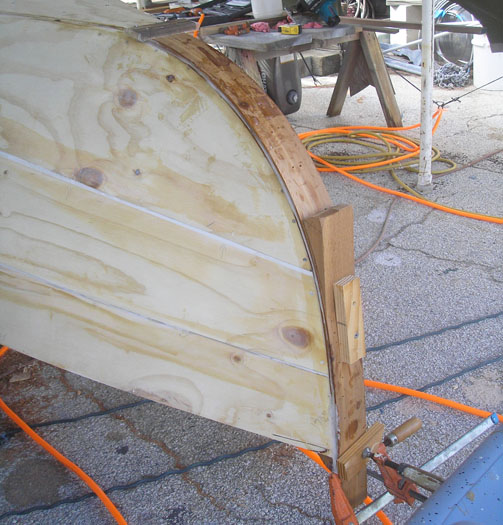
Bow frame detail Transom outer layer being laminated over the inner layer
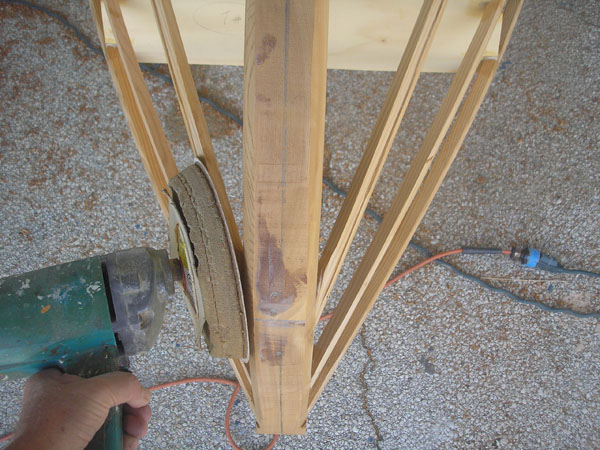
Using a low-speed body grinder to bevel the chine logs for planking The apron sides beveled for planking

Garboard planks going on (stern view left; bow view right)
Box keel sides going on Middle and sheer strakes going on
The planked hull, ready for final keel-plank bottom layer The keel-plank finished; first outer stem laminate going on

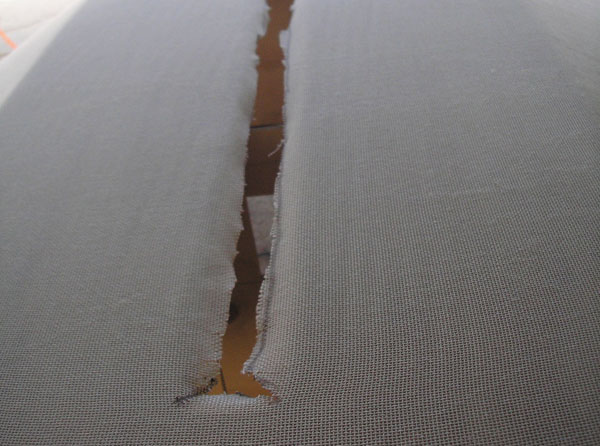
Applying Xynole-polyester fabric (keel, left; centerboard slot, right)
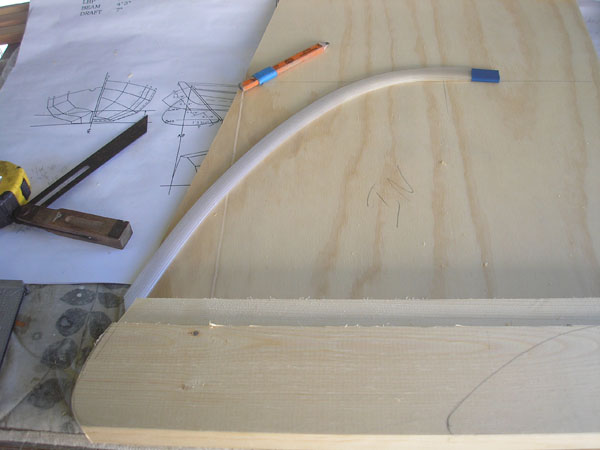
The hull covered in Xynole/epoxy, with two layers on the bottom and stem Using a drawing batten to establish rudder shape; note rabbet in post
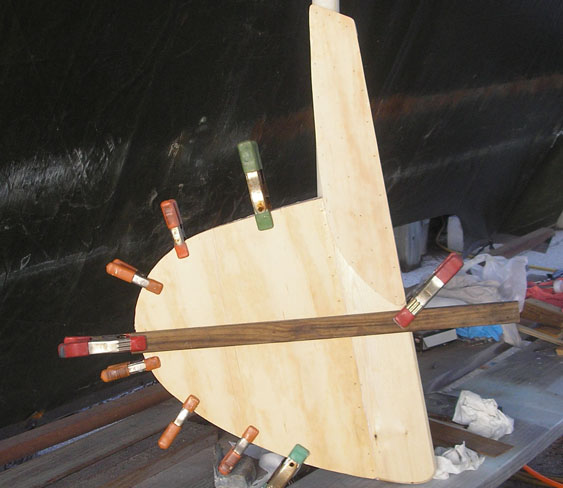

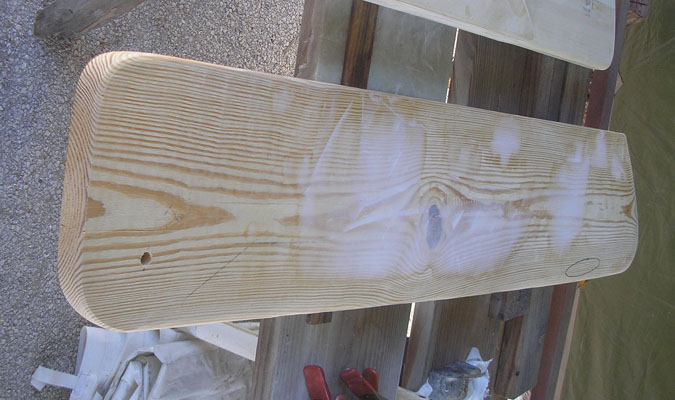
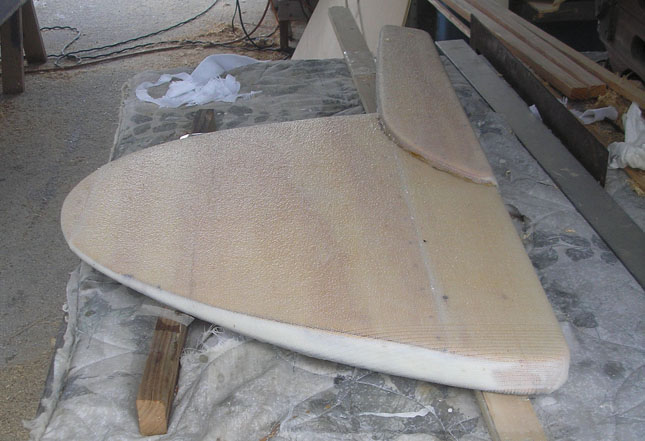
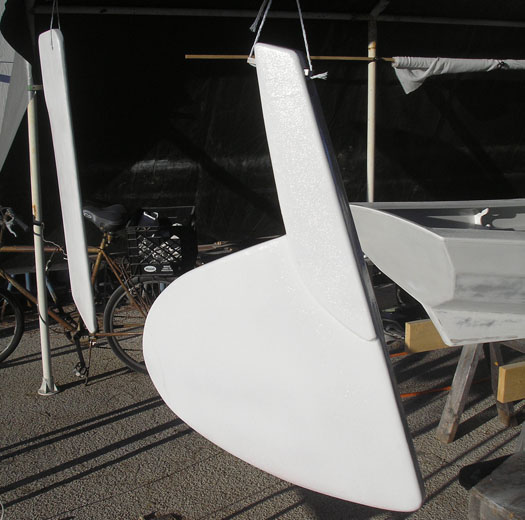
Laminating the rudder halves into rabbets cut in the rudder post The finished rudder with solid core and cheeks for the tiller
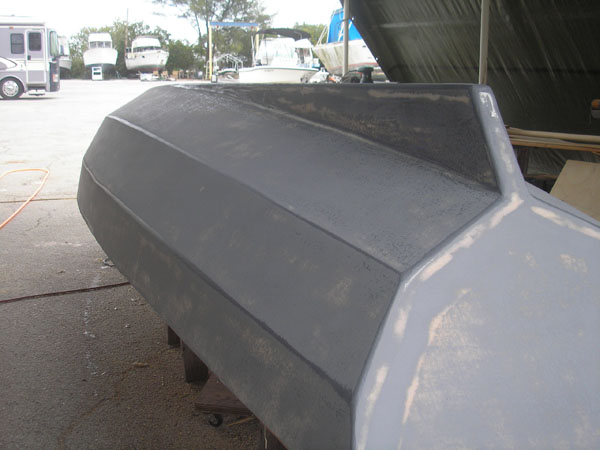
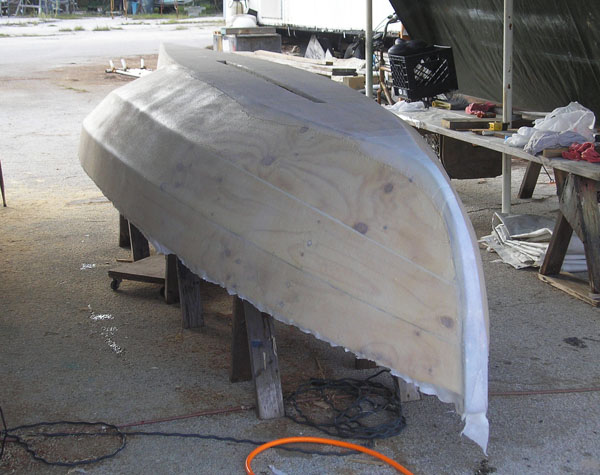
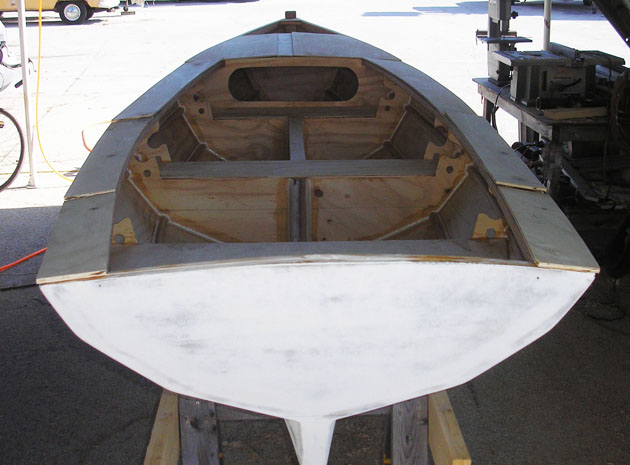
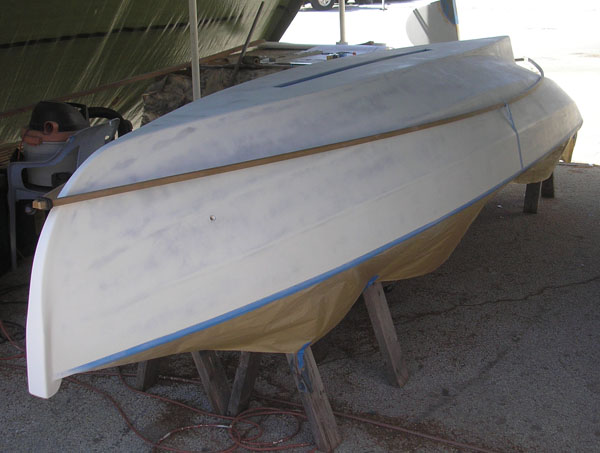
The centerboard shaped and faired The hull in primer, sanded--note that the chines must be hand sanded, as a power sander would make them unfair!
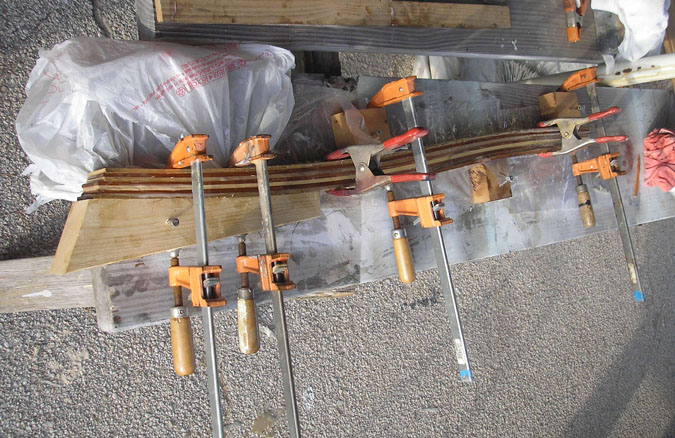
The rudder covered with Xynole/epoxy The tiller being laminated from ash and mahogany
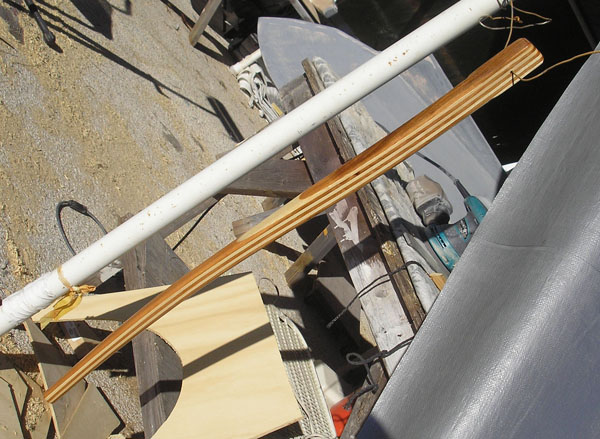
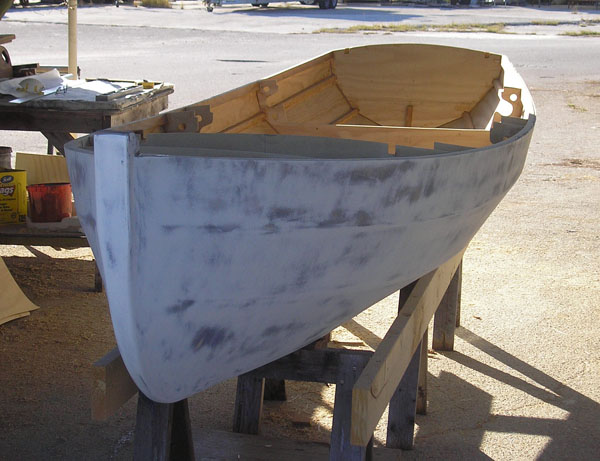
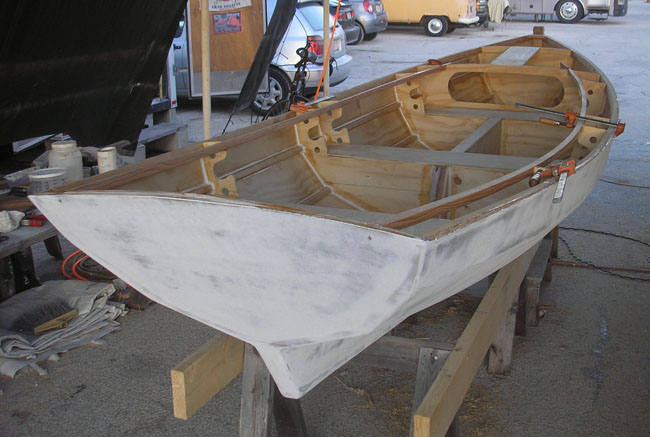
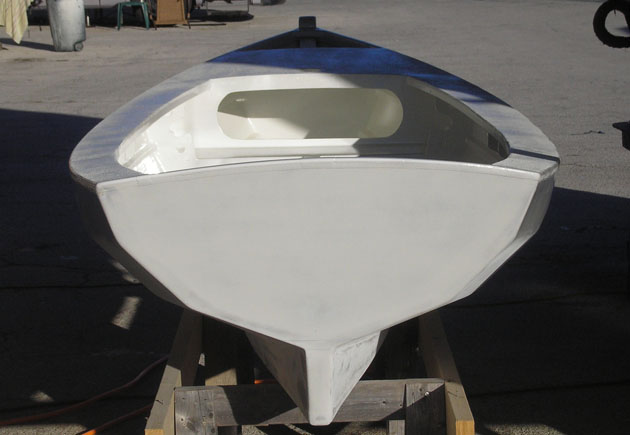
The tiller, shaped, sanded and epoxy sealed The hull right-side-up, in primer
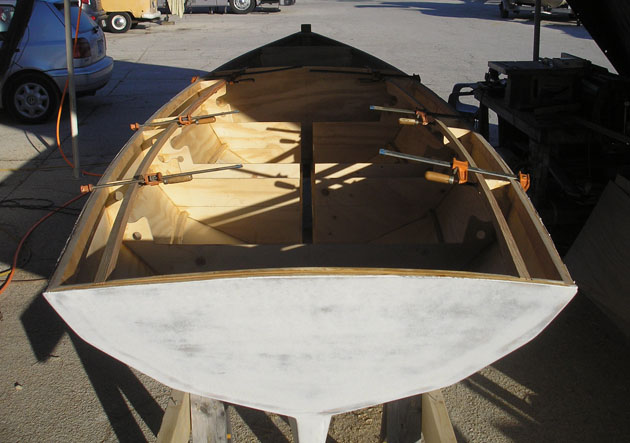
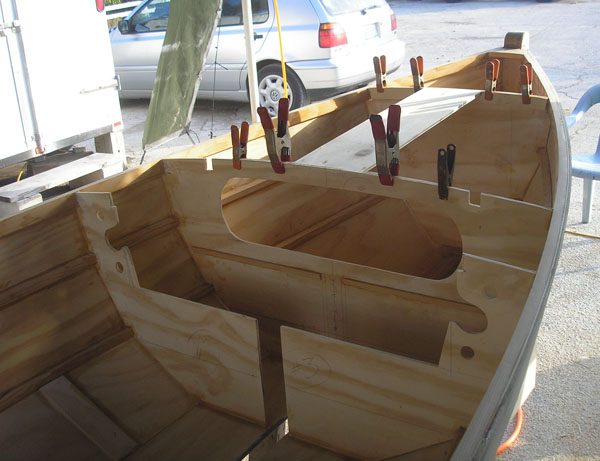
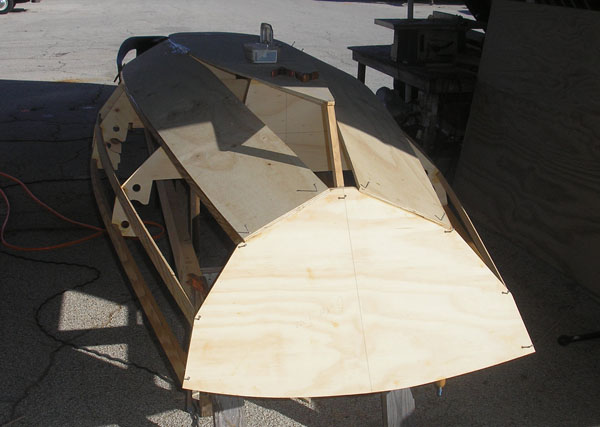
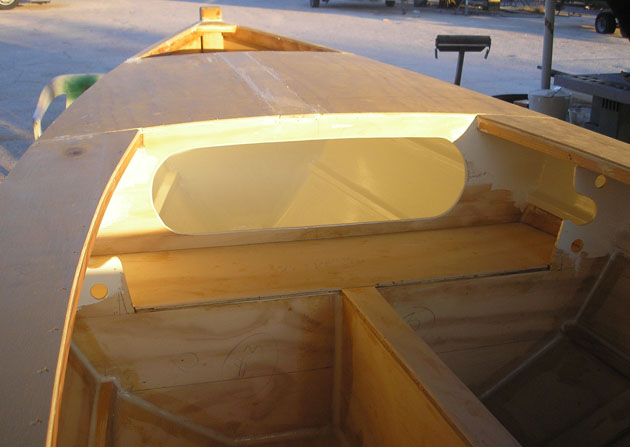
Fitting the side deck carlins Preparing the foredeck and mast partner; adding stiffeners to the adjacent bulkheads
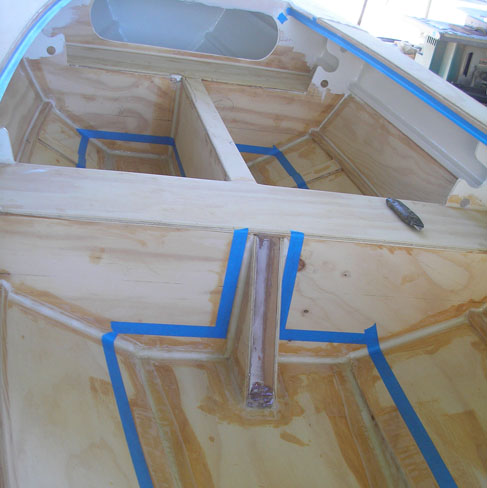
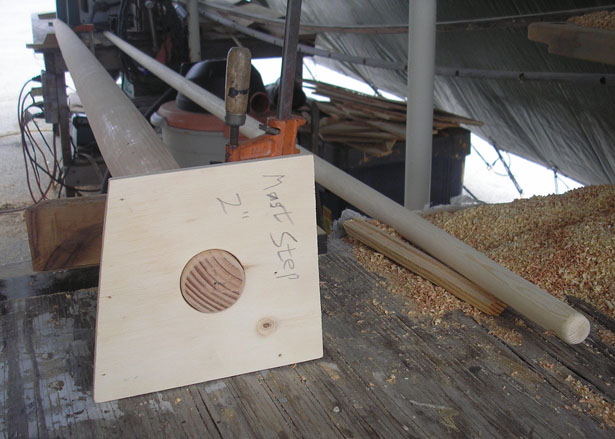
Installing the centerboard trunk halves and posts The mast step with weep holes
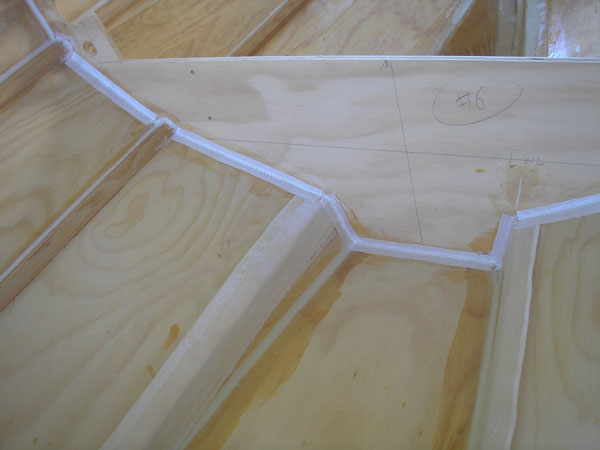
Laying 1" and 3" fiberglass tape directly onto wet epoxy/Cabosil/microballoon fillets Wetting out tape & fillets
Deck carlins being glued in place
Side deck layout--dry fitting first
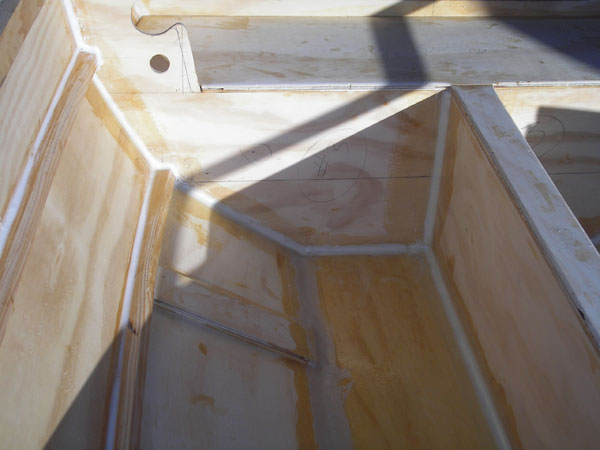
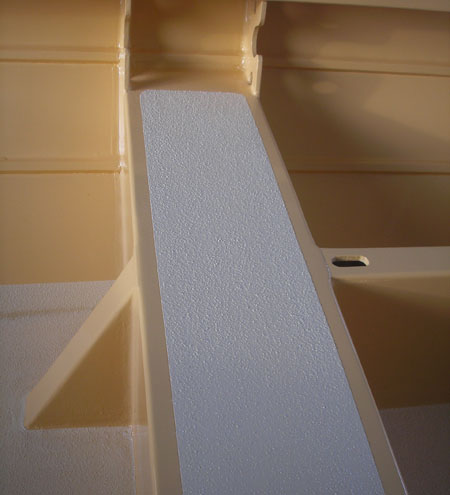
The fore deck requires small filler pieces to bring the frame up to deck level The areas under the side decks are painted before laying the decks, which are then glued & fastened
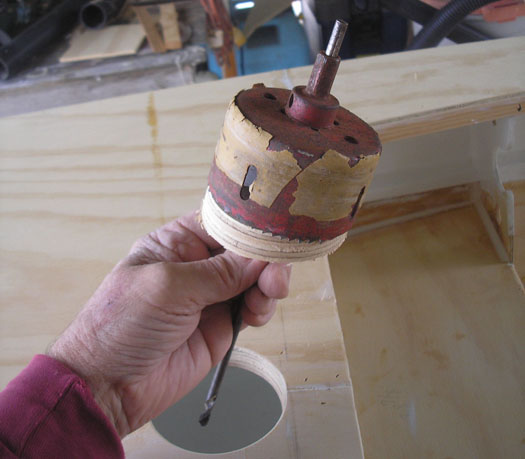
All decking glued in place The mast partners must be drilled to the angle of mast rake using a hole saw with a long guide bitt
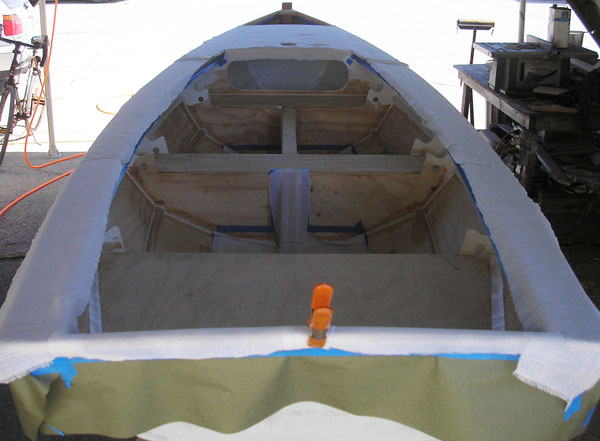
The hull is masked offprior to applying Xynole/epoxy on the decks The inside of the hull receives Xynole/epoxy to protect the wet and walk areas
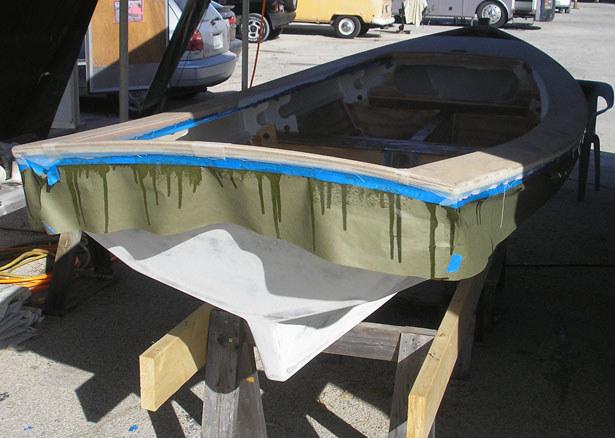
Xynole laid in place (left) and wet out (right)
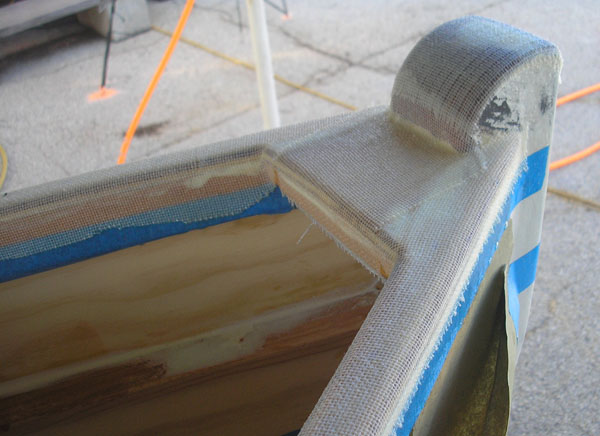
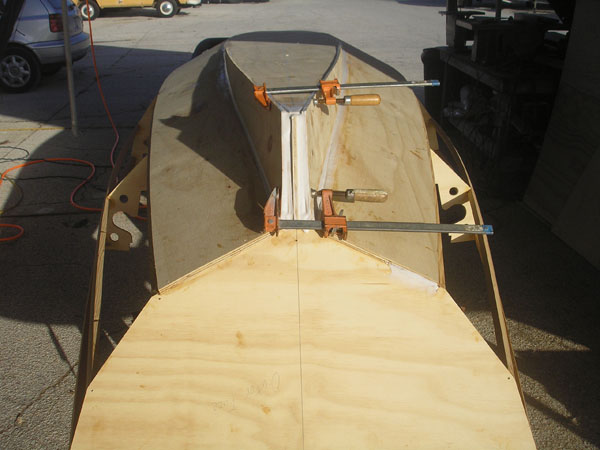
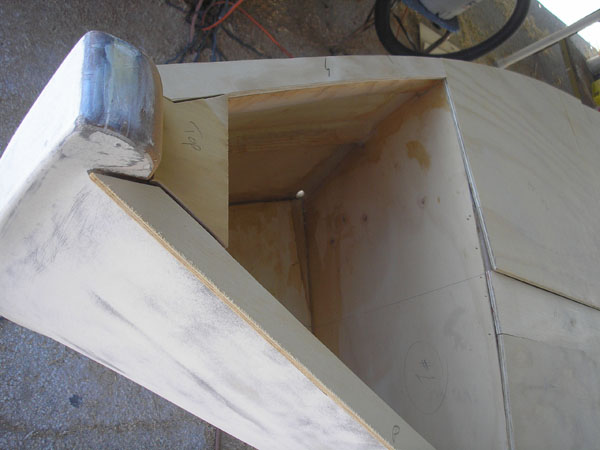
Detail of stem head and breast hook Using a template to size the base of the mast
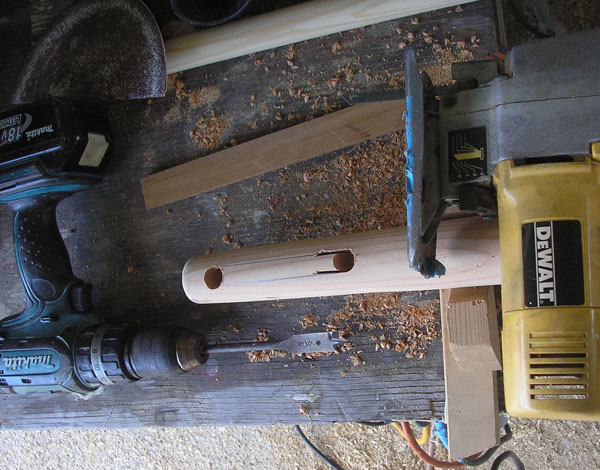
Cutting and finishing the slot for the main and jib haliard sheaves

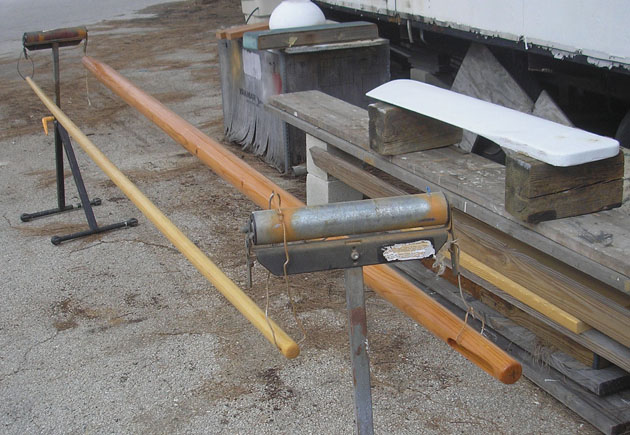
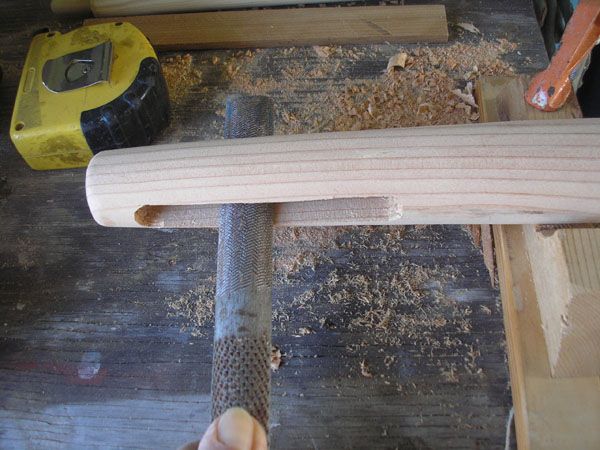
A concave sanding pad made on the table saw for mast-shaping The mast and sprit finished and epoxy sealed prior to varnish
The rudder in primer The hull in primer
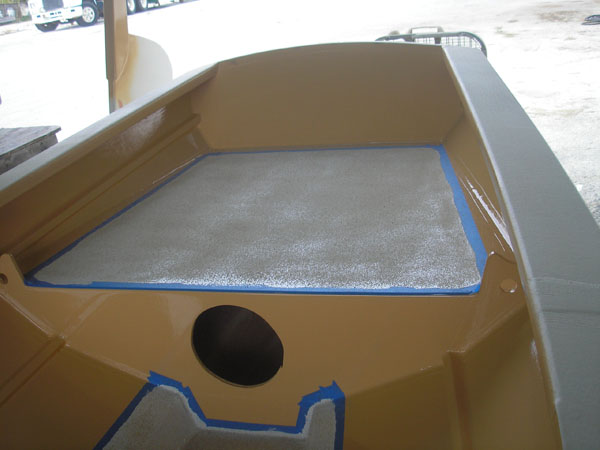
Applying non-skid using epoxy primer and fine sand-blasting sand
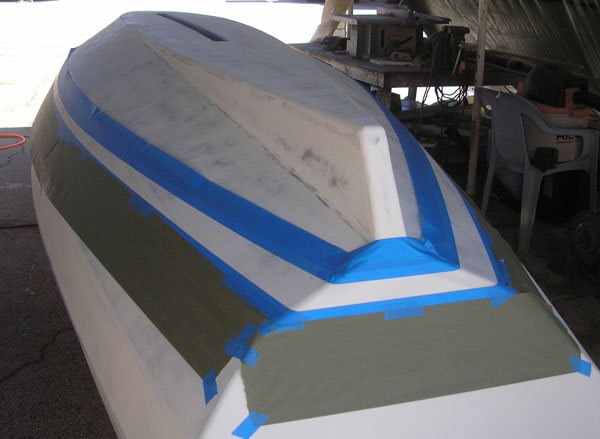
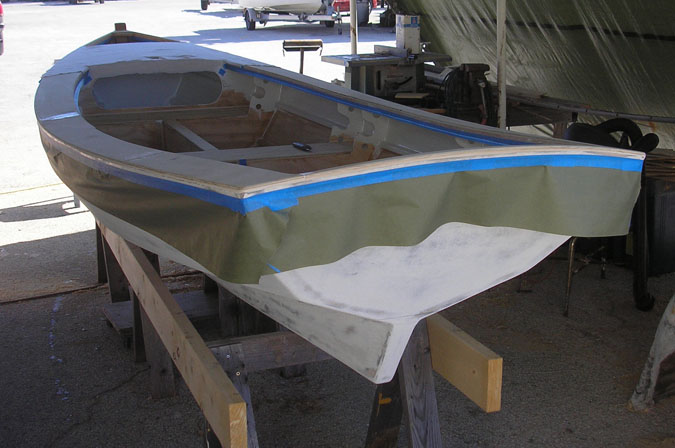
Using battens to establish the boot top Masking the boot for paint

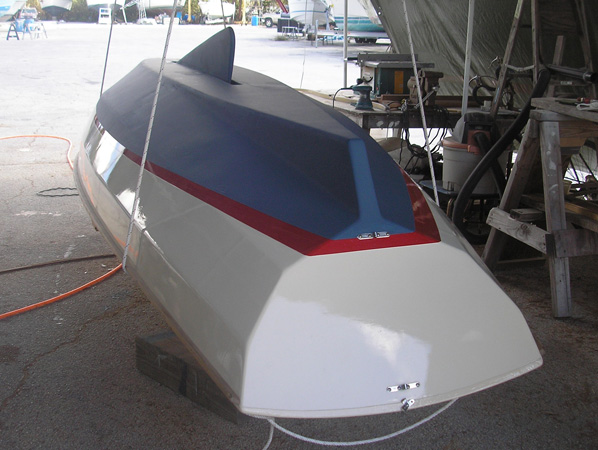
The Imron finish painted Sea Bright 14 with teak rubrails JERSEY GIRL prior to bottom paint (Scott Williams photo)


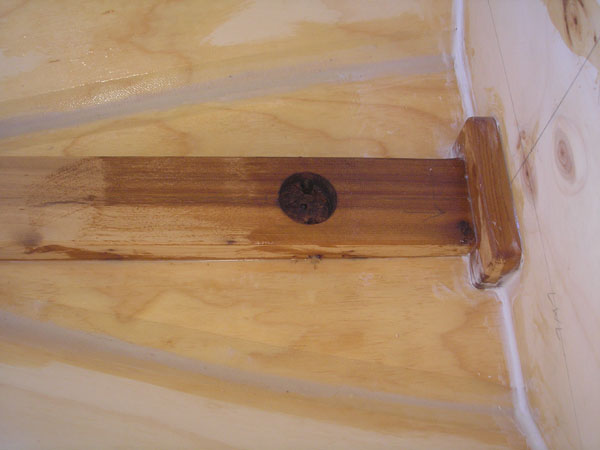
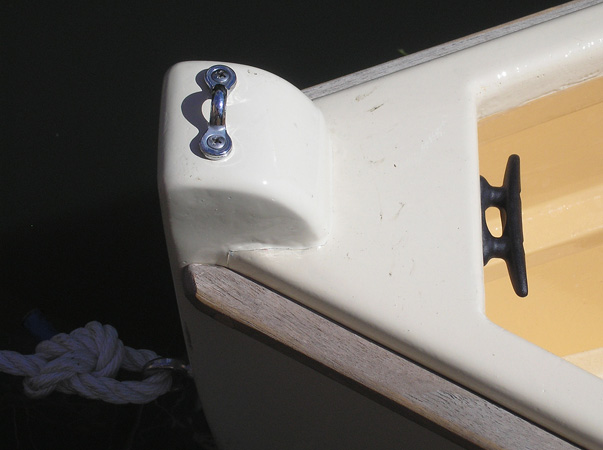
Stern cleat components--backing block is 1/8" aluminum plate Stern cleat installed with bedding compound
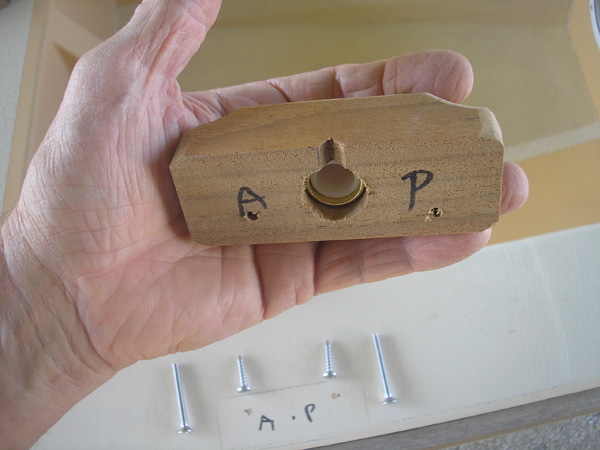
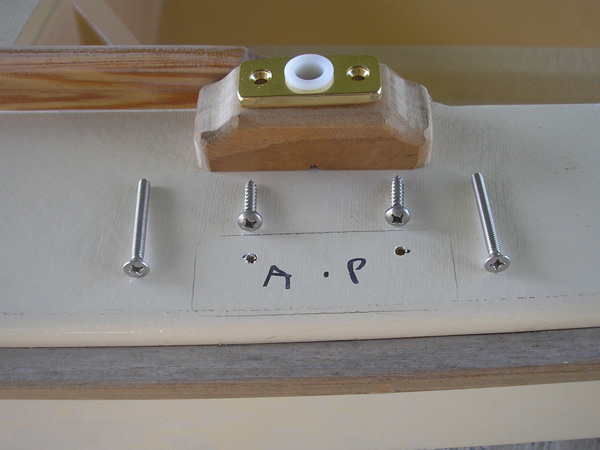
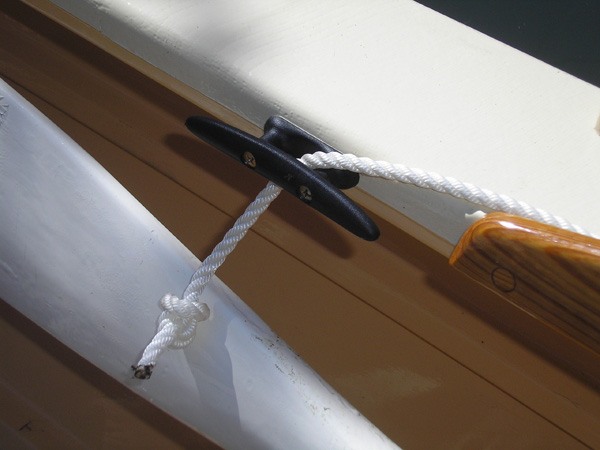
Oarlock gudgeon & teak mounting base with weep hole--the pan head screws are installed from beneath the deck; the bolts pass through the gudgeon and the deck
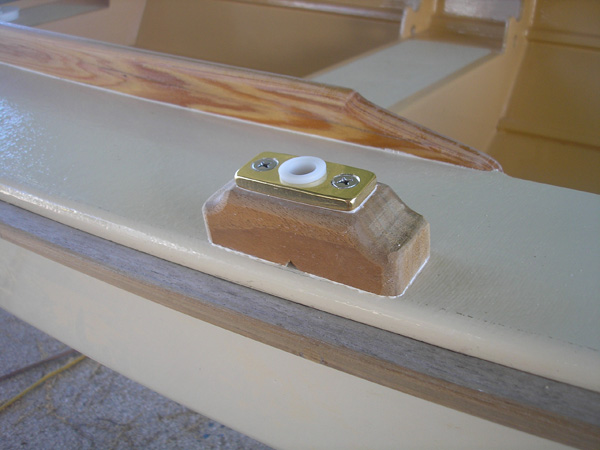
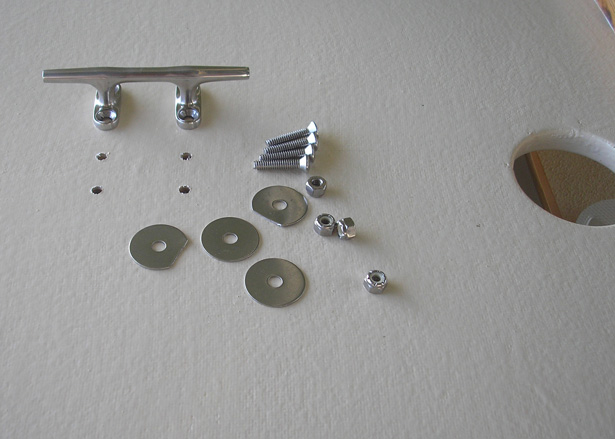
Rowlock gudgeon and base installed with bedding compound Foredeck cleat and backup fender-washers--the deck centerline is doubled for additional backup strength
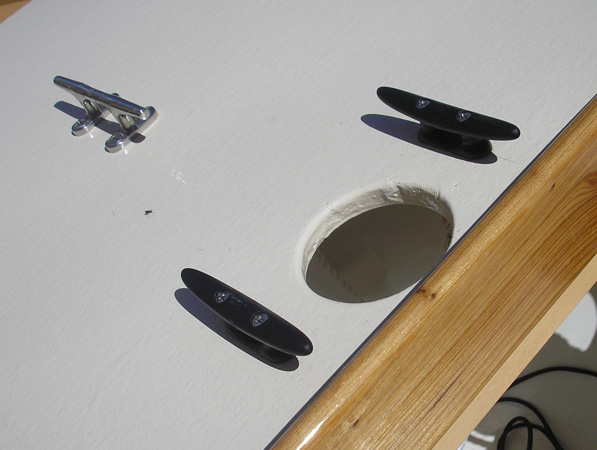

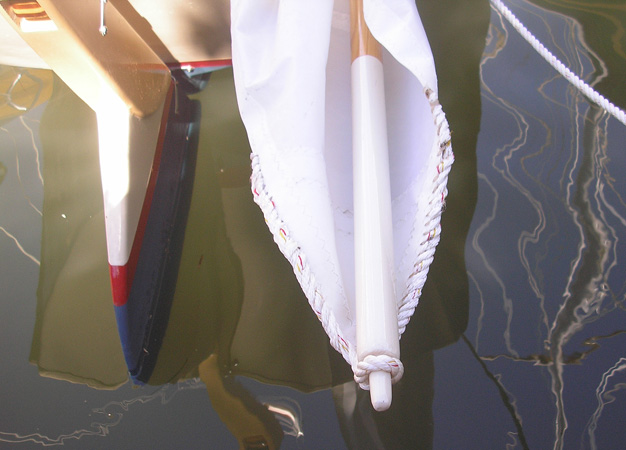
Foredeck cleats installed with bedding compound Starting the rat-tail cringle for the mains'l peak--I have already made the sails

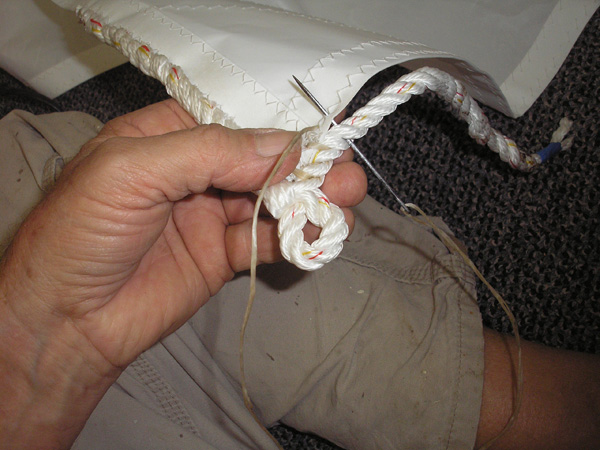
Forming the cringle by unlaying have the rope and starting a splice After laying up strands on both sides of the cringle while cutting strands out to form the tapered rat-tails, the cringle is sewn onto the peak


Sewing the jib to the jibstay, which is also the halyard and tack
Antifouling paint applied (two coats) Bow strap eye for the jib tack; cleat for the tack
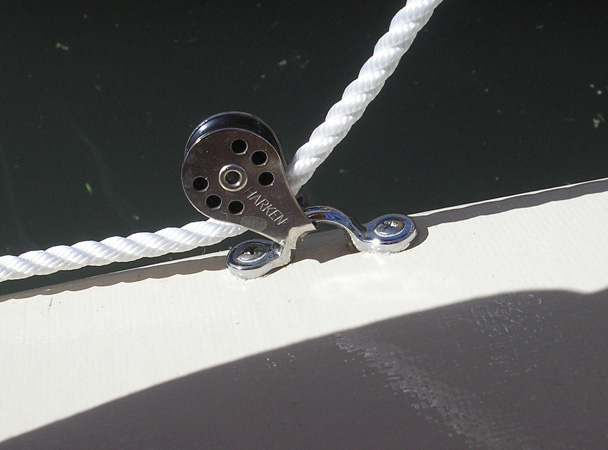
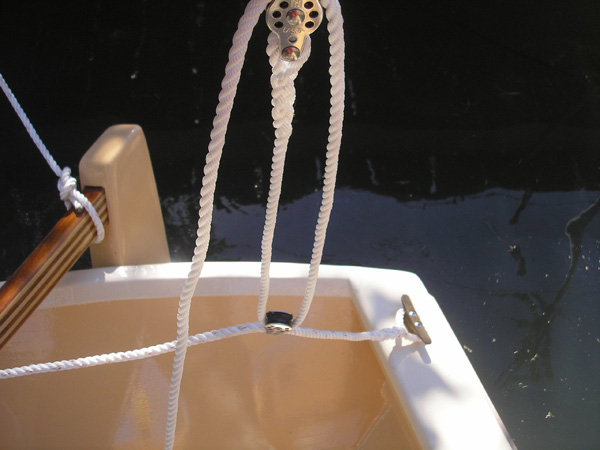
Cleat for the port side jib sheet Fairlead block for the port side jib sheet


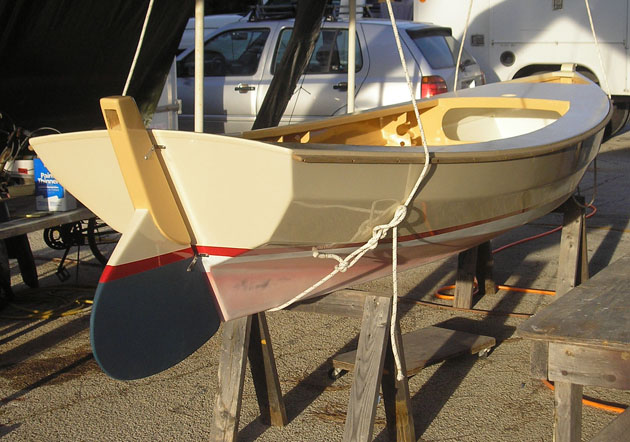
Rudder hardware adapted from Schaefer components JERSEY GIRL with cypress coamings, rowing hardware, towing eye and cleats--oars are 8' ash
The mains'l peak cringle on the sprit nipple The main sheet, which I later relocated to the rudder head, eliminating the rope traveler

JERSEY GIRL on the trailer

Reuel sailing JERSEY GIRL on Senebec Lake, Union, Maine (Tom Adams photo)